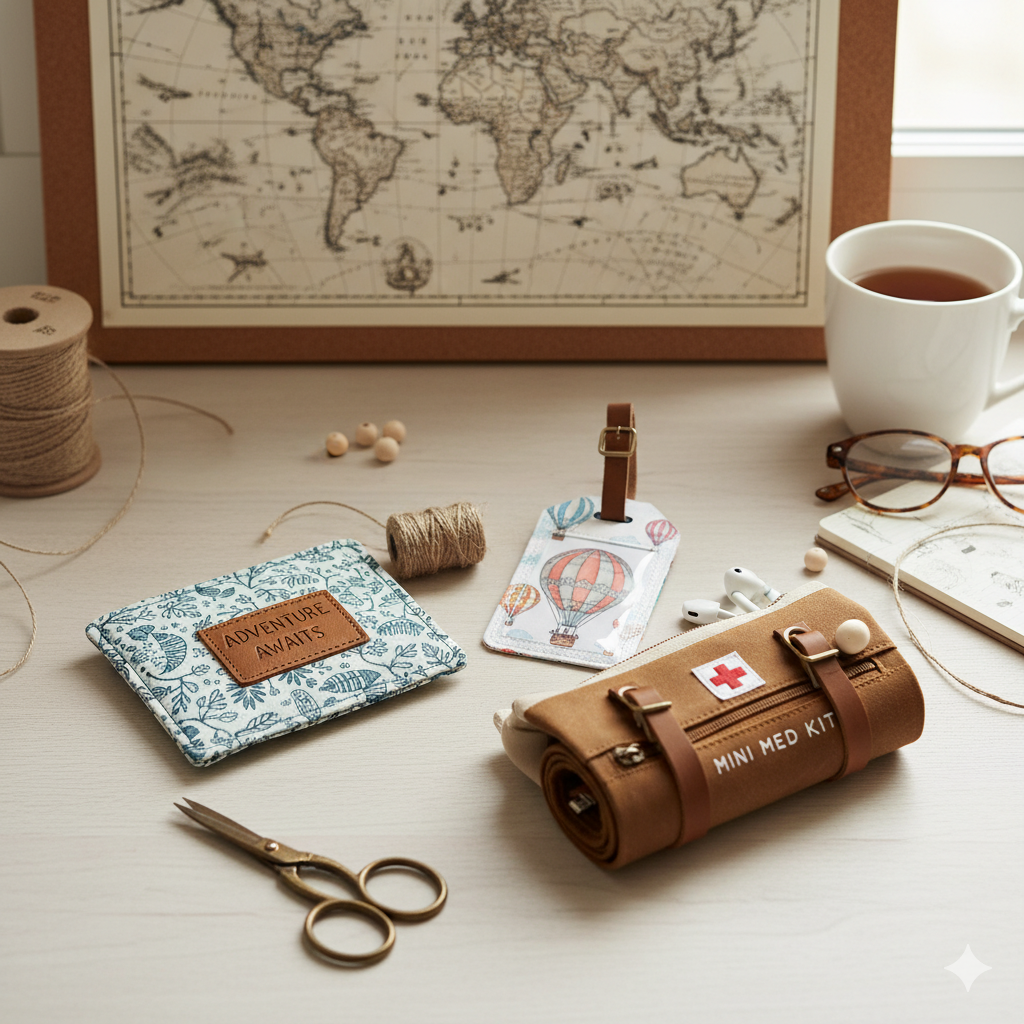
DIY Travel Accessories: Crafting Your Personalized Gear
If you love exploring the world with a touch of creativity, DIY travel accessories are your ultimate travel companions. Making your own gear isn’t just cost-effective—it adds a unique, personal flair to your adventures. Whether it’s a hand-sewn passport holder, a custom luggage tag, or a foldable toiletry kit, crafting your own travel accessories brings both function and personality to your journeys.
✈️ Why Create DIY Travel Accessories?
DIY travel accessories let you design gear that fits you. You can choose your materials, colors, and functions—making travel smoother and more stylish. Plus, handmade items make great gifts for fellow travelers!
Top Benefits:
- Save money compared to store-bought gear
- Customize colors, fabrics, and sizes
- Reduce waste with eco-friendly materials
- Create lightweight, multipurpose tools
🧵 Creative DIY Travel Ideas to Try
- Handmade Luggage Tags:
Travel hacks 2026 Use leather scraps or fabric to create durable luggage tags. Personalize them with your initials using embroidery or paint pens. - DIY Passport Holder:
Protect your passport in style. Use faux leather or sturdy fabric and add a small pocket for boarding passes. - Portable Jewelry Organizer:
A simple roll-up case with pockets and hooks keeps your jewelry untangled and easy to find while traveling. - Cable & Charger Roll:
Keep your tech organized by sewing a travel roll-up pouch with elastic bands for cables and a pocket for your charger. - Reusable Snack Bags:
Skip plastic and use washable fabric snack pouches for eco-friendly snacking on the go. - Mini First Aid Kit:
Repurpose an old makeup pouch into a compact medical kit with band-aids, antiseptic wipes, and pain relievers.
🌍 Best Materials for DIY Travel Gear
Creative travel essentials Choose lightweight, durable materials that withstand travel stress.
- Canvas or nylon for bags and pouches
- Cork or vegan leather for eco-friendly tags
- Elastic bands for adjustable closures
- Waterproof lining to protect from spills
DIY packing tips You can find all these supplies at craft stores or order them online at Etsy or Michaels .
💡 Tips to Make Your DIY Gear More Functional
- Keep it compact: Make sure everything folds or rolls easily.
- Use zippers or Velcro: Prevent spills or loss.
- Double-stitch stress points: Ensure durability.
- Label everything: Especially if you make multiple matching items.
For creative inspiration, check out Pinterest Travel DIYs — it’s full of smart and budget-friendly ideas.
🧳 Travel Smart: Organizing Your Handmade Gear
Handmade travel items To keep your luggage tidy, divide your items into categories—tech, hygiene, and clothing. Use small pouches for each category, and roll your clothes to save space. Pair your handmade items with a few professional-grade travel accessories like packing cubes or digital luggage scales from trusted travel brands like REI .
For more travel organization tips, read our post:
👉 How to Create a Vision Board for Your Travel Dreams
🌿 Eco-Friendly Travel DIYs
Craft your travel accessories using sustainable fabrics and upcycled materials. Old jeans, canvas bags, or even fabric scraps can be transformed into stylish pouches. By going green, you’re saving money and reducing your carbon footprint.
- Etsy – DIY Travel Supplies
- Michaels – Craft Essentials
- Pinterest – Travel DIY Ideas
- REI – Travel Gear
🧠 Final Thoughts: Craft with Purpose
Personalized travel gear aren’t just about saving cash—they’re about expressing creativity and traveling with meaning. Every stitch tells your story. So, grab your supplies, put on some travel tunes, and start crafting your next adventure companion DIY Travel Accessories 2026!
⚖️ FTC Disclosure:
This article contains affiliate and informational links to trusted crafting and travel brands. We may earn a small commission at no extra cost to you, helping support our content creation.


